Saturday, December 24, 2011

DIY Handmade Gifts

This year I did a lot of homemade gifts. My friend Ashley asked me to be a guest blogger and show some of them on her blog. It was really exciting to actually be the guest blogger this time. It was my very first guest appearance and it was really sweet of Ash to ask me. I thought I would share it also here too.

This year, I made my niece her own coloring book. I took pictures of all her family members (including extended) and took it into Photoshop to turn the photos into coloring pages. I just sent it off, so I'm not sure how she likes it yet, but my kids loved it. They thought it was so much fun being able to color their family members. You can get the how to from Photojojo at this link. Also, if you want to do this but don't have Photoshop you can also do at the Crayola website. A few tips if you use Photoshop: use the burn tool to help darken the edges and use the brush tool to create better outlines. I bought a cover for it but I was originally planning on making a cover for it. You can find the tutorial from Angry Chicken here.


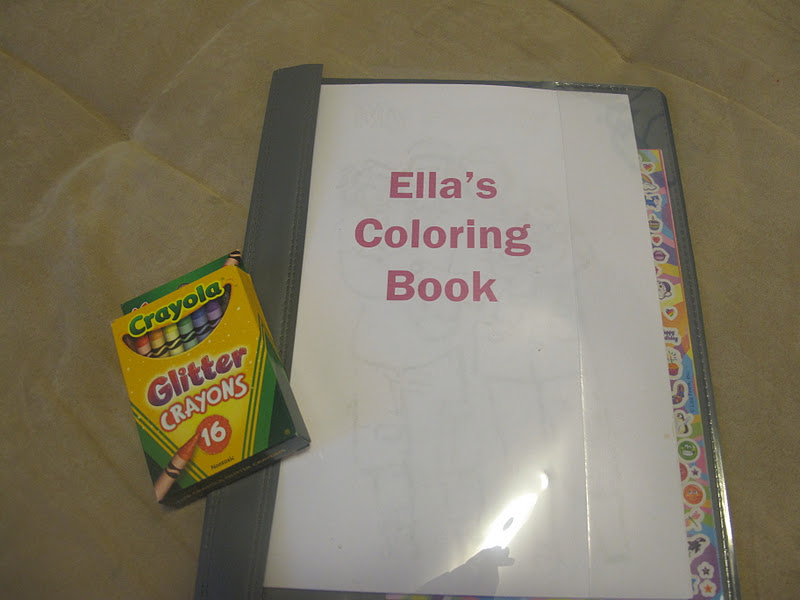
This is a page from the coloring book of my adorable niece.

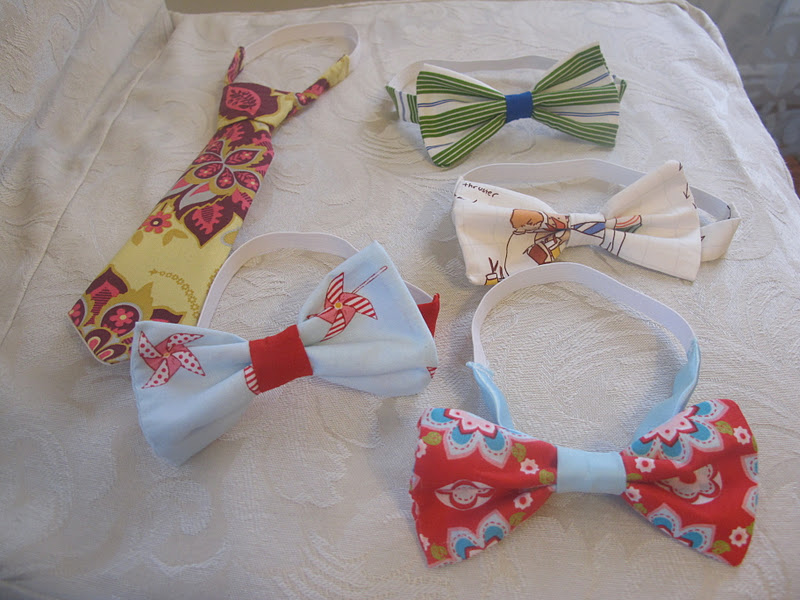
Since I'm always making accessories for Chloe, Elijah gets left out sometimes. To compensate, I make him ties. He loves them. He picked out some fabric and I'm making him some for Christmas. He also loves bow ties. I also made a few bow ties for my nephew this year. For babies I always attach elastic instead of a clip since they normally try to pull at them. This is something my sister in law can do (and has done) but I loved the fabric he chose. For the tie tutorial I used these two tutorials: Purlbee and Sharing the Wealth and for the bow tie I used this link from Prudent Baby.


Chloe loves backpacks right now and I thought I would make her one for Christmas. I looked at this tutorial from Prudent Baby for the drawstring backpack. I haven't finished it but this is the look I'm going for:

* this is from Goodies

I'm always making headbands for Chloe, or flower clips, and I made her this one for Thanksgiving. These make great gifts though and are easy to make and less than $1 to make. I used the tutorial from Mary Jane and Galoshes.


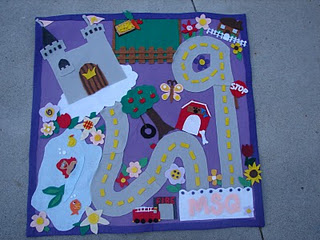
If you're not into sewing try this tutorial from 'A Girl and A Glue Gun' for a car mat. You can see her boy and girl versions. I haven't started this one yet (I might wait for his birthday in February). I thought this was cute and affordable. I also wanted to try a Batman theme since Elijah is really into Batman right now.


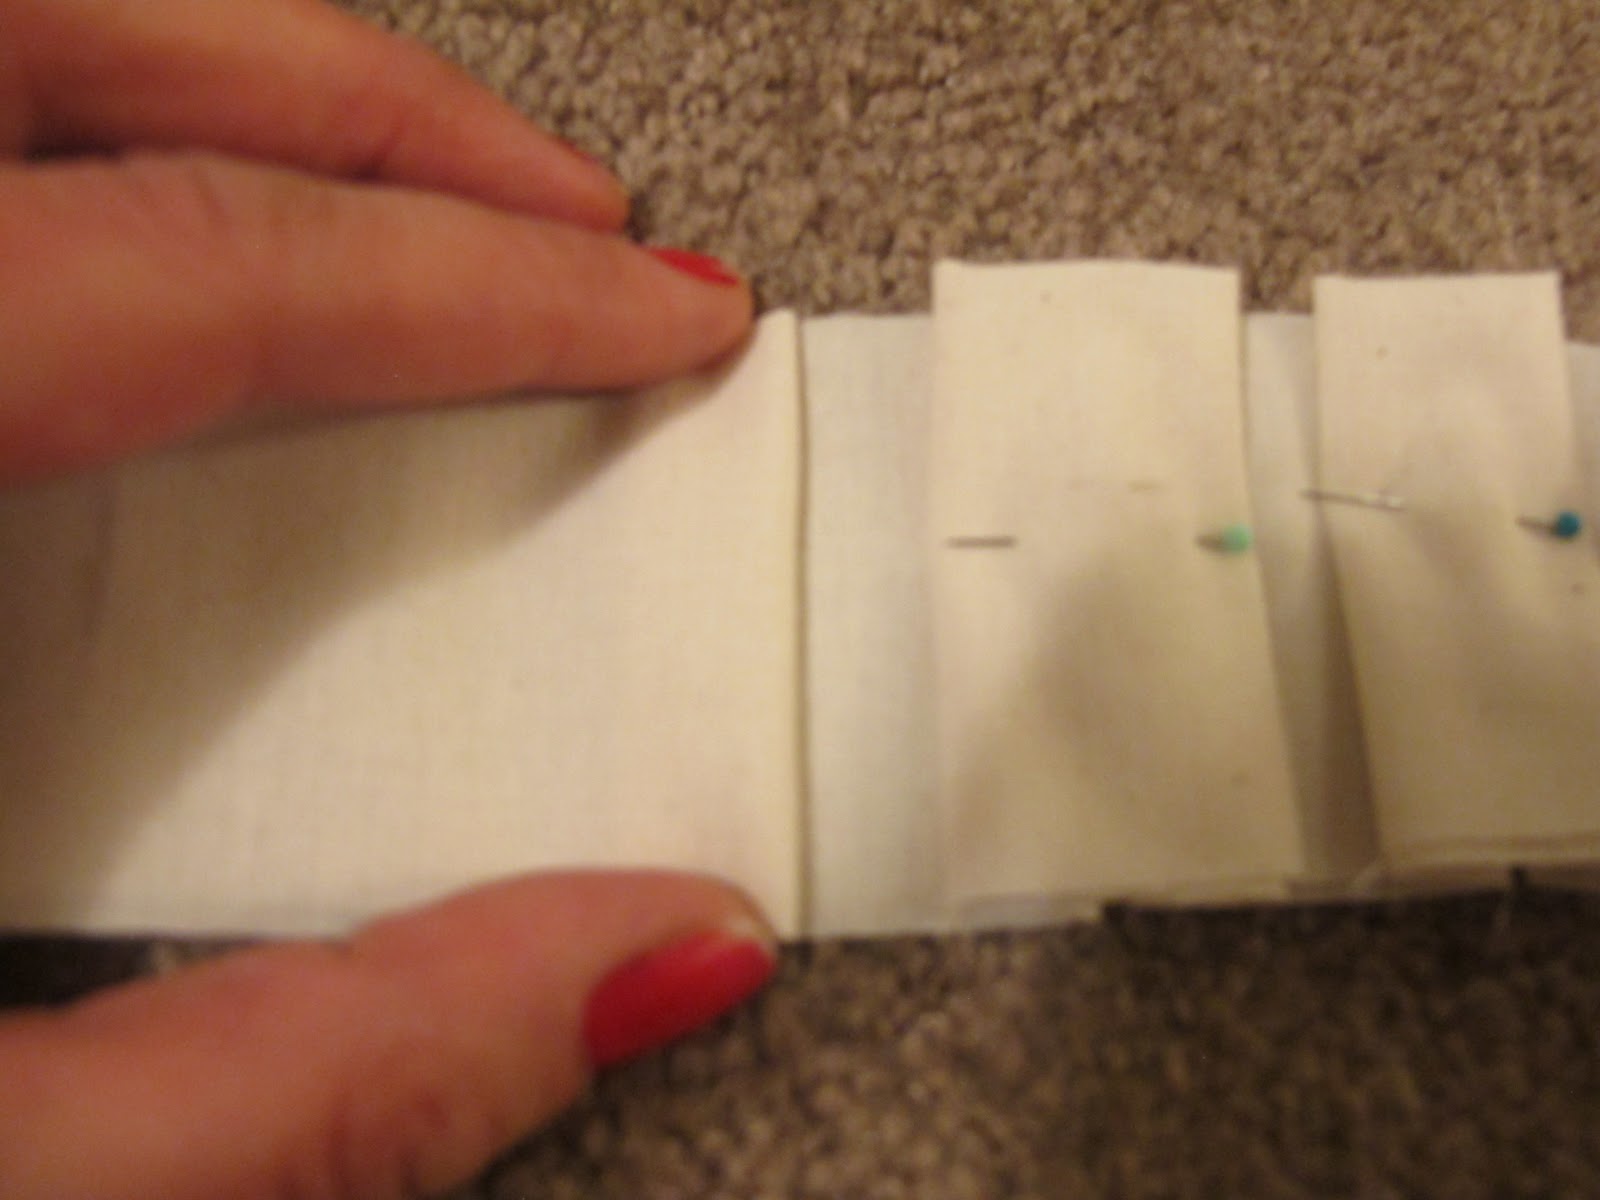
If you remember my earlier post that I did for Jed's Christmas gift, here it is. He loves it! He loves getting to open one each day and one of the things he liked the most were outings for him and the kids. He also likes the notes that I have attached to each day. Elijah also loves this. He is so excited to give it to Jed and even gets excited about the date ideas. He wants to come with us. 


Since I'm also really into baking and I'm loving the mason jar gift ideas right now, I thought these were a cute ideas. I found a bunch on Tip Junkie and Under the Table and Dreaming. I thought these would be really cute to give to neighbors, friends, co workers or for the people I visit teach. Another cute idea is to give hot chocolate with a dessert tasting spoon for a stirrer. My husband's co worker gave us one and it reminded me of these dessert tasting spoons that I once saw. It's such a cute idea and easy and affordable to do.

*image from Tip Junkie


*image from shutterstock

I hope these help you with your own Christmas projects. Merry Christmas!


Christmas Decor

Here's a couple of really easy Christmas decorations you can do.

For the candy cane vase:
Take a vase and wrap a big rubber band around it. Stick candy canes in under the rubber band. Hide the rubber band with ribbon and secure ribbon with double sided tape. (Mine took 4 boxes of candy canes)

I also filled other vases with ornaments I got from the Dollar Store and a candle and placed them around the house.

For the wreath:
You can follow the link I did on this previous post. I then added some ornaments in the center with my hot glue gun and fishing line. 

I also found these cute candy topiaries from BHG


I also made a bunch of paper snowflakes with my kids. They loved it and they both love having them up around the house, especially on their windows where it makes shadows against the blinds. I haven't made these since grade school so I looked up instructions on Martha Stewart.

Thursday, December 15, 2011

Christmas Tree Inspirations

The first Saturday of December, I took the kids along with my sister in law and her kids to the Festival of Trees in SLC. They have such amazing Christmas trees! They're all decorated and sold and the proceeds to go the Shriner's Children's Hospital. It's amazing to see the creativity and how beautiful these trees were. They also had wreaths, quilts and gingerbread houses. Seriously, these people have skill! It also was so touching to see who or why they were donated for.

I thought I would post some pictures in case anyone wanted some inspiration.

 (Chloe's favorite)


 (one of Elijah's favorite)

(I love polar bears!)

(this is a cute theme: What Little Boys Are Made Of)


(another of Elijah's favorites)


Gingerbread houses:


 the next three are all part of the same one, it rotated, it's for all the children around the world


(points for you if you know what this one is without looking at the tag)

Tangled


Wreaths:


(this could be cute for spring too)

And one quilt:
(Elijah wants me to make him this one)


Tuesday, December 6, 2011

Curtain with Pleated Sides Tutorial

As I stated before in some of my other posts, we've just moved. We also have a ton more windows in this house than we've ever had before. So of course, I convinced my husband we needed curtains for at least the downstairs. We had a few that we were able to stretch for most of the rooms, but my front room still didn't have any. I went to the store but just didn't find any that I really liked, so instead I decided to make my own.
This project was about $35 for two curtain panels. (I chose expensive fabric for mine, so you can easily do it more affordable) I was looking for certain colors, because the room is really sparse of furniture and the furniture doesn't completely match so I was hoping the curtains could make it more cohesive. My couch is olive with red accent through it and my t.v stand is vintage blue with cream accents. I found fabric that matched my couch but I still needed to tie in the t.v stand so I got cream colored fabric to accent it. I was really happy with the way that it turned out. My husband at first didn't understand the pleating idea I had, but after he saw them completed he really liked them too. The room now just needs some throw pillows and I think it'll be complete, but that won't be for a little bit.

I decided the farbic needed something else to add to it, instead of just plain curtain panel so I decided to make a pleated edge using my accent cream colored fabric. It was just the thing that it needed too! This was the first time I ever did pleating and since I couldn't remember where I first found the tutorial (and I was feeling lazy and not wanting to try to hunt for it again) I decided I would do my own tutorial for these curtains. Sorry, I also thought of doing the tutorial after I did the main panels so I only have pictures for the pleating. Hopefully, it'll make sense. ;)

First, measure your window. Figure out the length you want for your curtain. Since the fabric I was buying was expensive and was going to be behind my couch, I didn't have it go all the way to the floor. After figuring how long you want the curtain to be, add on another 14 inches for the seams and for the curtain ties. (If you don't want to sew the ties you'll only need 10 inches) Plus, you'll need 1 yard of accent color for the pleats.

For this project you'll also need a cutting mat, straight edge, scissors or a rotary cutter, measuring tape,  sewing machine, sewing pins, and ironing board and iron.

 Fold the fabric in half and smooth it out on your cutting mat. To cut it, from the fold measure down 4 inches and cut straight across using your straight edge. Set aside, this you'll later cut in half the width for the the ties. Next measure the long sides of the material and fold over 1 inch for the seams on both sides. Iron the sides down and pin to hold them in place. Sew the seams together.

After you have both side seams sewn, fold the bottom of the fabric down a 1/2 an inch, iron, and then fold it over again another 1/2 inch. Iron, and pin then sew together.

Now we're going to move on to the pleats. Taking the yard of accent material, you're going to cut six 4 inch strips the length of the fabric and two 3 inch strips the length of the fabric. Set aside the two 3 inch strips since that will be for the ties.

With the right sides of the fabric facing each other, sew 3 strips together. Then sew the other three together. So now you have to sets of accent material.
Fold the first connected strip in half length wise with the right side showing and press using the iron. Fold the end back a 1/2 inch, then fold the other side of the fabric under itself a 1/2 inch so your pleat should be 1 inch.  going over another 3/4 an inch, repeat the process. Make sure to iron each pleat as you go! You also want to make sure the they are all the same width along with the spacing between them. Repeat this process with the other connected strip.


After you have the pleats finished, pin them onto the wrong side of your curtain panel. I started pinning them 3 inches from the top since we still need to finish the top. When you get to the last one, fold the last end back under and pin.
 When your finished pinning your pleats to the side of your curtain, sew them on following the original stitch line from your seam.
After, iron your pleats again and take out all of the pins from your pleats. Repeat the same process with the other curtain panel but on the opposite side that you did the first panel. You want the pleats to face in on  each other once they're hung. (You can look to the first picture if this doesn't make sense)

Once you're finished you want to fold the top of the curtain under onto the wrong side and sew a seam 2 3/4 inches down from the top. Then you will sew another seam 1 inch down from the top. This part I ruffled and you can find directions on how to ruffle on this post.

That's it for the panels. If you don't want to sew on the ties back for the panels, you can find some at Walmart and a fabric store for about $1.50 each.

Now it's time for the ties. Take the 4 inch strip of the base material that you already cut out and cut it in half length wise. So you'll still have two strips that are 4 inches wide and about 14 inches (depending on how wide your material is) in length. Fold it in half with pattern sides together. Sew a seam (1/4 inch) along all the edges except for the top. Using a pencil turn the fabric inside out so the pattern is now showing. Fold the top down inside the opening and use a blind hand stitch to close the opening. Iron flat. Repeat process with other strip. Set this aside.

Next, take the two accent fabric strips, fold them in half length wise pattern side out and stitch the bottom together. Take the seam side down and lay across the middle of the base strips so the seam doesn't show. Pleat using the same directions for the curtain except make 1/2 inch pleats instead of 1 inch. You can pin the pleats onto the base fabric to save you time. Make sure to iron as you go! Sew down the middle of the pleats.

That's it! You're finished! I know this is a bit time consuming because of the pleats (it took me a good 4 hours to do this) but it's totally worth it! I hope you like it! Also, if you need further clarifications or have questions leave me a comment and I'll get back to you :)